🍗 Crunchy Perfection in the Oven: Crispy Baked Chicken Legs That Tear Right Off the Bone 🍗
1. Introduction
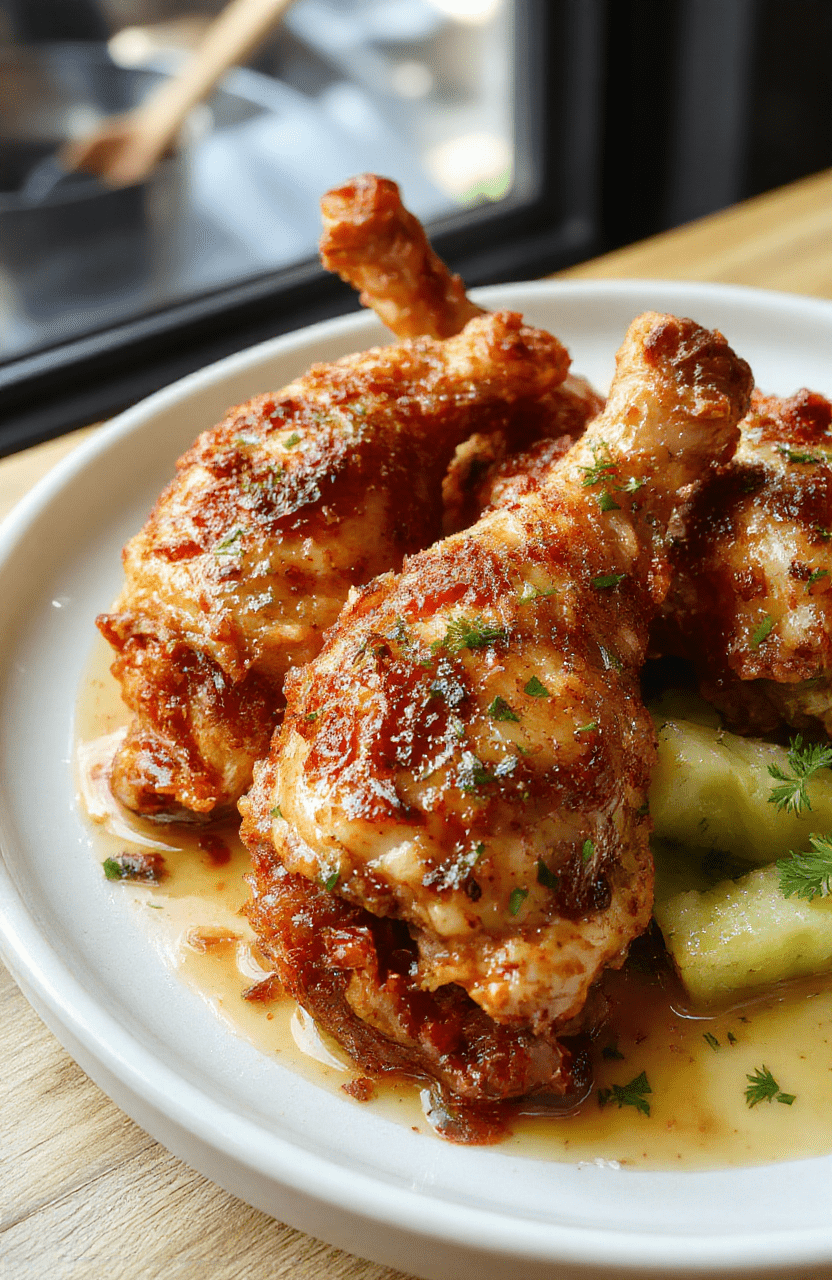
Nothing beats the satisfying snap of crispy baked chicken legs glistening under the oven light—skin golden-brown, skin crackling, and meat impossibly juicy below. This isn’t just another bland, dry roast-chicken recipe; it’s a quick weeknight chicken dinner that feels like comfort food with a gourmet twist. After years of testing brines, rubs, and oven temp tweaks, I’ve landed on a method that delivers shatter-crisp skin without deep-frying—and it’s packed with bold, savory-sweet flavor you’ll want on repeat. Whether you’re meal prepping for the week or serving guests, these healthy easy chicken meals deliver big without the stress.
2. Why You’ll Love This Recipe
- Ready in under 45 minutes total—perfect for busy weeknights.
- One-sheet-pan wonder—minimal cleanup, maximum flavor.
- Healthy & high-protein: skin-on thighs or drumsticks are naturally rich in iron and B vitamins.
- Beginner-friendly—no special tools or technique required.
- Loads of flavor, zero guesswork: a customizable dry rub base that sings with every bite.
3. Ingredient Notes
Ingredient quality makes or breaks this dish—especially the chicken itself. I recommend organic, air-chilled chicken legs (thigh-drumstick combos or all drumsticks) for better flavor and less gamey notes. The skin should feel taut and slightly cool to the touch—never slimy or sticky.
The magic在这里 lies in a few key support players:
- Smoked paprika—not just for color. It adds deep, woodsy smokiness that mimics grilled chicken. Use 真正的 Spanish smoked paprika (Pimentón de la Vera) if you can find it.
- Garlic powder & onion powder—they dissolve evenly into the crust and prevent harsh raw flavors that fresh garlic or onion might leave behind in a bake.
- Kosher salt—always. It penetrates better than table salt and gives a cleaner finish. And yes, dry-brining with salt for 1–2 hours before baking is non-negotiable for crisp skin and seasoned meat.
- Avocado oil or refined coconut oil—high smoke point + neutral flavor. Skip olive oil here: it burns before skin crisps.
4. Kitchen Tools You Need
While this recipe works in any oven, the right tool can save time and ensure perfect results every time:
The Ninja Air Fryer Pro Crisp & Roast 4-in-1 is my go-to for extra-crispy chicken in 20 minutes—just set it to “Air Crisp,” and it circulates heat like a convection oven. For full-family meals, the Ninja 12-in-1 Smart Double Oven with FlexDoor & Air Fry gives dual racks and even heat distribution so both trays crisp evenly.
After cooking, storing leftovers is way easier with the JoyJolt Airtight Glass Food Storage Set—stackable, microwave-safe, and won’t retain odors.
And if you love meal prep, the CAROTE Premium 16pc Nonstick Cookware Set includes large, rimmed baking sheets with natural nonstick finish—ideal for roasting without parchment paper if you’re trying to reduce waste.
5. How to Make Crispy Baked Chicken Legs
Phase 1: Prep Time — Dry-Brine for Flavor & Crispness
Start by patting chicken legs very dry with paper towels. Moisture is the enemy of crisp skin—so spend 90 seconds patting each one until it feels like sandpaper. In a small bowl, mix 2 tsp salt, 1 tsp black pepper, 1 tsp smoked paprika, ½ tsp garlic powder, ½ tsp onion powder, and ¼ tsp cayenne (optional). Rub this all over the chicken, pressing gently so it adheres. Place uncovered on a plate and refrigerate 1–2 hours (or overnight for best results). This step dehydrates the skin and seasoned the meat from within.
Phase 2: Preheat & Prep Pan — High Heat Is Key
Place a rack in the upper third of your oven and set the oven to 450°F (230°C). Line a rimmed baking sheet with foil (for easy cleanup), then place a wire rack on top—this lifts the chicken so hot air circulates beneath and crisps the entire surface, not just the top.
Phase 3: Bake & Broil — The Flip-Free Method
Arrange chicken skin-side-up on the rack. Drizzle with 1 tsp avocado oil—just enough to help browning, not drip. Roast for 20 minutes. Then, switch to Broil High for 2–4 minutes, watching like a hawk. You want golden-brown color, not black. The skin should curl slightly and make a soft crackling sound—that’s your cue it’s ready.
Remove and let rest 5 minutes before serving. The juices will redistribute, keeping the meat moist. Internal temp should hit 165°F (74°C) at the thickest part.
Phase 4: Optional Glaze (for extra excitement)
For a sticky, shiny finish, brush with a mix of 2 tbsp honey + 1 tbsp soy sauce + 1 tsp rice vinegar during the last 2 minutes of broiling. Add sesame seeds or chopped cilantro after resting for color and contrast.
6. Expert Tips for Success
- Dry skin = crispy skin—pat chicken again right before baking if it absorbed any fridge humidity.
- Bring chicken to room temp for 20 minutes before baking—cold chicken cooks unevenly and steams instead of roasts.
- Use a meat thermometer. Guessing leads to dry meat. Pull at 160°F; carryover heat hits 165°F during resting.
- No wire rack? Flip halfway through—but place skin-side-down first for 15 minutes, then flip. This prevents soggy spots where the chicken touches the pan.
- Bone-in, skin-on is ideal—boneless, skinless legs dry out faster and won’t crisp well.
7. Variations & Substitutions
Gluten-Free: Use tamari instead of soy sauce for the glaze.
Keto-Friendly: Swap honey for monk fruit or allulose syrup in the glaze. Skip the sugar entirely for a savory-only finish.
Spice It Up: Add ½ tsp chipotle powder + ¼ tsp cumin for a Southwestern kick. Or use 1 tsp Za’atar for a Middle Eastern twist.
Herb Crust: Mix 1 tbsp dried thyme or rosemary into the dry rub for an earthy note.
Veggie Add-Ins: Toss baby potatoes or broccoli florets around the chicken on the pan in the last 15 minutes—they’ll roast in the chicken drippings.
8. Storage & Reheating
Cool completely before storing in an airtight container (like the JoyJolt Glass Set) for up to 4 days. Freezing works too: wrap each piece in parchment, then foil, for up to 3 months.
For best reheating: Never use the microwave alone—it makes skin rubbery. Instead:
- Preheat oven to 400°F (200°C), place chicken on a rack, 10–12 minutes.
- Air fry at 375°F (190°C) for 5–7 minutes—crisp returns instantly.
Leftover chicken makes fantastic fillings for tacos, grain bowls, or—my personal favorite—tossed into this creamy高protein mac & cheese or the original version for a hearty, family-friendly meal.
9. FAQ
Why isn’t my chicken skin crispy?
Most likely: not dry enough, too low oven temp, or skin touching the pan. Always use a wire rack and broil at the end.
Can I use chicken thighs instead of legs?
Absolutely! Thighs stay juicier longer and absorb flavor beautifully. Adjust bake time to 18–22 minutes (bone-in) or 12–15 minutes (skin-on boneless).
How do I prevent dry chicken?
Use a thermometer, avoid overcooking, and let it rest. Also, don’t skip the dry-brine—even 30 minutes helps.
Is crispy baked chicken healthy?
Yes—baking avoids extra oil from frying. Chicken legs provide more collagen and connective tissue than breasts, so they’re naturally more flavorful and nutrient-dense (think: glycine, collagen peptides).
10. Conclusion
There you have it: a failproof crispy baked chicken legs recipe that nails texture, flavor, and simplicity. Whether you pair it with roasted veggies, mashed potatoes, or even serve over rice like in our tonkatsu-style bowls, these legs will become your new weeknight hero. Try them tonight—and watch them disappear faster than a simple bread pudding on Sunday afternoon.
Print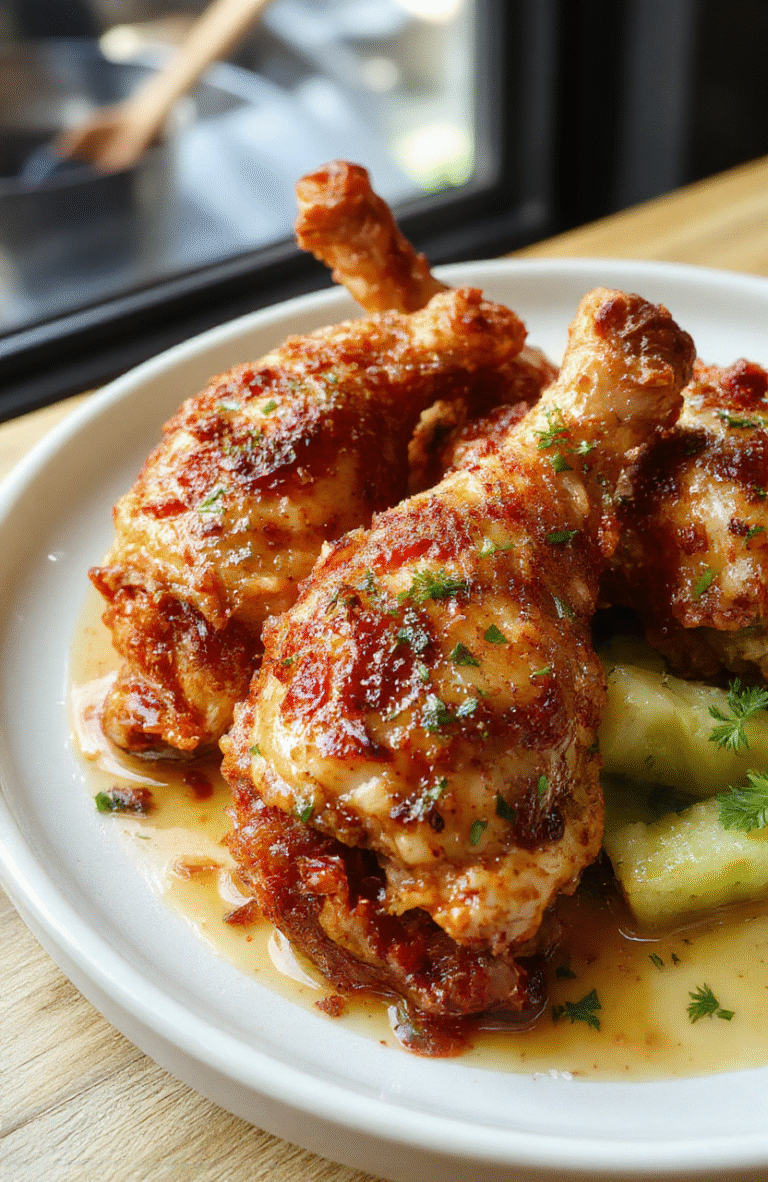
Crispy Baked Chicken Legs
Juicy, crispy baked chicken legs made in the oven with minimal prep and cleanup — the perfect quick weeknight dinner.
- Total Time: 40 minutes
- Yield: 4 servings
Ingredients
- 4 bone-in, skin-on chicken drumsticks
- 2 tbsp olive oil
- 1 tsp kosher salt
- 1 tsp black pepper
- 1 tsp garlic powder
- 1 tsp paprika
- 1/2 tsp dried thyme
- 1/2 tsp onion powder
- 1 lemon, halved
- Fresh rosemary sprigs, for garnish
Instructions
- Preheat oven to 425°F (220°C). Line a baking sheet with parchment paper.
- Rinse chicken legs and pat dry thoroughly with paper towels — dry skin is key for crispiness.
- In a small bowl, mix olive oil, salt, pepper, garlic powder, paprika, thyme, and onion powder.
- rub the spice mixture evenly over chicken legs, pressing gently to adhere.
- Place chicken on baking sheet skin-side up, arranging in a single layer with space between pieces.
- Bake for 20 minutes, then flip and bake 10–15 more minutes, or until internal temperature reaches 165°F (74°C) and skin is deep golden and crispy.
- Squeeze lemon juice over chicken before serving. Garnish with fresh rosemary.
Notes
- For extra-crispy skin, broil 1–2 minutes at the end — watch closely to avoid burning.
- Pair with roasted potatoes, broccoli, or a simple salad for a complete meal.
- Store leftovers in an airtight container up to 3 days; reheat in a 350°F oven to restore crispiness.
- Prep Time: 10 minutes
- Cook Time: 30 minutes
- Method: Baking
- Cuisine: American
- Diet: High Protein
Nutrition
- Serving Size: 1 drumstick (about 150g)
- Calories: 280 Kcal
- Sugar: 0g
- Sodium: 420mg
- Fat: 17g
- Saturated Fat: 4g
- Unsaturated Fat: 11g
- Trans Fat: 0g
- Carbohydrates: 1g
- Fiber: 0g
- Protein: 27g
- Cholesterol: 95mg