✨ Crispy Honey Butter Chicken with Pan Gravy That’s Ready in Under 30 Minutes! 🍯🍗
1. Introduction
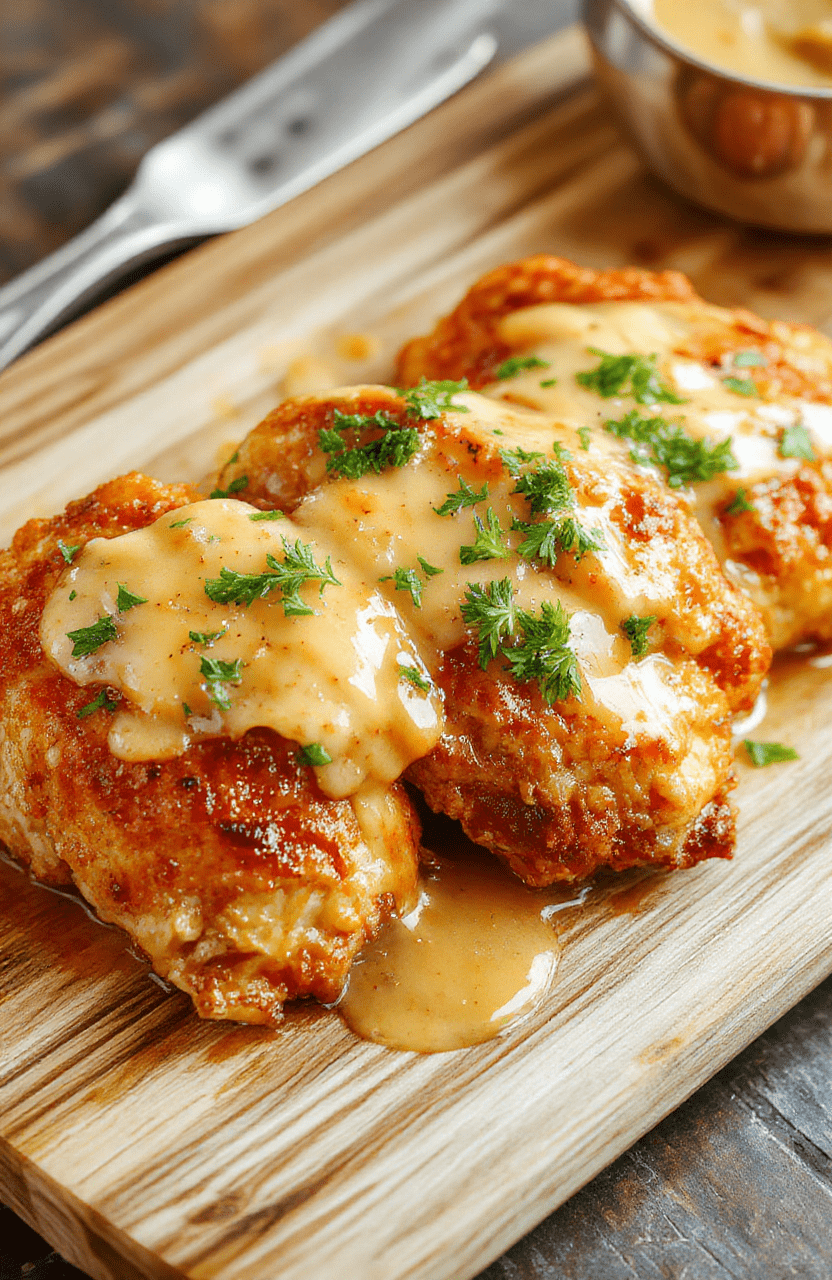
There’s something magical about crispy honey chicken — tender, juicy bites of golden-brown chicken coated in a glossy, sweet-savory glaze that clings like a dream. But what sets this recipe apart? A pan gravy made from the very pan drippings, turning every fryer scrap into pure flavor gold. This easy weeknight chicken dinner delivers rich, restaurant-quality taste without the effort — think sticky fingers, comfort-food nostalgia, and zero complicated steps. It’s become a household favorite for good reason: it’s fast, foolproof, and unforgettable.
2. Why You’ll Love This Recipe
- Ready in under 30 minutes — perfect for busy weeknights.
- All-in-one pan cooking — fewer dishes and deeper flavor build-up.
- Customizable heat level — add red pepper flakes or keep it mild.
- Family-friendly and crowd-pleasing — kids and adults alike go back for seconds.
- Pairings galore — think steamed rice, roasted veggies, or even over mashed potatoes like our Dump-and-Go Smothered Pork Chops.
3. Ingredient Notes
Great flavor starts with thoughtful ingredient choices — here’s how each component contributes to this standout dish:
- Chicken thighs (boneless, skin-on) — Dark meat stands up better to high heat and stays juicy. Skin becomes beautifully crisp during the sear.
- Unsalted butter + honey — The honey caramelizes quickly, while the butter adds richness. Use real Grade A amber honey for balanced sweetness.
- Soy sauce (or tamari for gluten-free) — Adds umami depth. Light soy keeps the color clean; dark soy gives a richer hue (use sparingly).
- Garlic and ginger — Fresh is non-negotiable here. Minced garlic caramelizes faster than powdered; ginger adds bright warmth.
- Chicken broth (low-sodium) — Used in the gravy to deglaze and build body — don’t skip the flavorful sediment at the bottom of the pan!
4. Kitchen Tools You Need
You don’t need a full kitchen overhaul — but having the right tools makes this dish smoother, safer, and more consistent:
- A heavy-bottomed T-fal 14-Piece Hard Anodized Nonstick Cookware Set — great for everyday use and ensures even heat distribution for perfect browning.
- A reliable digital thermometer — like the one built into the Compact 6-in-1 Digital Air Fryer by Amazon Basics, ideal if you prefer air-fryer results (though pan-searing gives more authentic gravy potential).
- A silicone spatula and wooden spoon — from the Deluxe 33-Piece Silicone Utensil Set — scratch-resistant, heat-safe, and perfect for scraping the pan.
- Ninja Air Fryer Pro Crisp & Roast 4-in-1 — if you want a hands-off, lower-oil option for the chicken. Just finish with a glaze toss after cooking.
- A fine-mesh sieve — handy for straining the gravy if you want a silky-smooth finish (optional, but elegant).
5. How to Make Crispy Honey Butter Chicken with Pan Gravy
Phase 1: Prep & Pat Dry
Take chicken thighs out of the fridge 15 minutes before cooking — this helps them sear evenly. Pat them *very* dry with paper towels — moisture is the enemy of crispiness!
Phase 2: Sear to Golden Perfection
Heat 1 tbsp oil in a large skillet over medium-high heat. Place chicken skin-side down — you’ll hear a satisfying sizzle. Let it cook 6–8 minutes undisturbed until deeply golden and crisp. Flip and cook another 4–5 minutes until internal temp hits 165°F. Remove chicken and set aside.
Visual cue: The skin should look lacquered and crackle slightly when gently pressed — not pale or rubbery.
Phase 3: Build the Glaze & Gravy Base
Reduce heat to medium. Add 2 tbsp butter, 2 minced garlic cloves, and 1 tsp fresh ginger ( grated). Sauté 30 seconds until fragrant. Stir in 3 tbsp honey, 2 tbsp soy sauce, and ½ cup chicken broth — use a wooden spoon to scrape up all those glorious browned bits from the pan bottom. Bring to a gentle simmer.
Phase 4: Glaze & Simmer
Return chicken to the skillet, skin-side up. Spoon the sauce over generously. Simmer 3–4 minutes, basting occasionally. The sauce will thicken and cling — that’s the signal to stop. Overcooking now risks burning the honey.
Phase 5: Make the Pan Gravy (Optional, but Recommended!)
Remove chicken. Whisk 1 tbsp cornstarch + 2 tbsp cold water into the remaining sauce. Bring to a low boil for 1–2 minutes until glossy and thickened. Taste and adjust — maybe a squeeze of lemon for brightness or extra honey for balance.
6. Expert Tips for Success
Don’t skip these hard-earned tricks:
- Don’t crowd the pan — sear in batches if needed. Overcrowding steams the chicken, killing crispness.
- Add honey last — honey burns easily. Mix it in with the other liquids *after* the aromatics are fragrant.
- Rest the chicken — let it sit for 2 minutes after glazing. This allows the sauce to set and keeps the skin from turning soggy.
- Gravy too thin? — Make a slurry with cornstarch and cold water (not hot!) and whisk in at the end.
7. Variations & Substitutions
- Spicy Version — Add ½ tsp crushed red pepper flakes when sautéing garlic, or stir in 1 tbsp sriracha with the glaze.
- Sugar-Free — Use monk fruit sweetener + 1 tbsp lime juice to mimic honey’s tang.
- Vegan Option — Swap chicken for extra-firm tofu or jackfruit. Air-fry until crisp, then toss in glaze.
- Tree-Nut Free — This recipe is naturally nut-free. Just check soy sauce labels for cross-contamination if needed.
- For More Sauce — Double the glaze ingredients and serve_extra on the side — like in our Sweet and Spicy Honey Pepper Chicken.
8. Storage & Reheating
Fridge: Store in airtight containers for up to 3 days. Keep sauce separate if possible — it thickens as it cools.
Reheat: For best texture, reheat in a skillet over medium-low heat (adding a splash of water or broth to prevent burning). Avoid the microwave if you care about crisp skin — it’ll soften dramatically.
Freezer: Freeze chicken *without* sauce for up to 1 month. Thaw overnight in fridge, then-glaze and freshen in a 350°F oven for 10 minutes.
9. FAQ
Q: Can I use chicken breasts instead?
A: Yes — but they dry out faster. Pound to even thickness, sear skin side first (use skinless if preferred), and reduce cooking time. Baste frequently!
Q: Why did my sauce get grainy?
A> Likely honey crystallized or overheated. Use fresh honey and never let the sauce boil vigorously once honey is added. Stir gently over low heat.
Q: What sides go best?
A> Steamed jasmine rice, roasted bok choy, or garlic mashed potatoes. For heartier fare, try our Hearty One-Pan Ground Beef Hobo Casserole on the side.
10. Conclusion
This crispy honey butter chicken proves that weeknight dinners don’t need to be boring. With its glossy, sticky-sweet glaze, tender interior, and perfectly rich pan gravy, it’s pure comfort in a skillet. Bonus? It pairs beautifully with a bold red wine or even a cup of strong coffee — and a slice of our Ultimate Moist Chocolate Banana Bread for dessert. So preheat the pan, grab a cold drink, and get ready for one of the easiest, most satisfying meals of your week.
Print
Crispy Honey Butter Chicken with Pan Gravy
Juicy, crispy honey butter chicken glazed in a sweet-savory honey butter sauce with roasted vegetables — ready in under 30 minutes for a foolproof weeknight dinner.
- Total Time: 30 minutes
- Yield: 4 servings
Ingredients
- 4 boneless, skin-on chicken thighs (about 1.5 lbs)
- 1 tbsp cornstarch
- 1 tsp smoked paprika
- 1 tsp garlic powder
- 1/2 tsp salt
- 1/4 tsp black pepper
- 1 tbsp olive oil
- 2 tbsp unsalted butter
- 2 tbsp honey
- 2 tbsp soy sauce (or tamari for gluten-free)
- 1 clove garlic, minced
- 1/4 tsp red pepper flakes (optional)
- 2 cups broccoli florets
- 10 baby carrots, halved
- Sesame seeds and chopped parsley for garnish
Instructions
- Pat chicken thighs dry and score skin lightly. Mix cornstarch, paprika, garlic powder, salt, and pepper. Rub onto chicken.
- Heat olive oil in a large skillet over medium-high heat. Add chicken, skin-side down. Cook 6–7 mins until deeply golden and crisp. Flip, cook 3–4 mins more. Transfer to a plate.
- In same skillet, melt butter. Add honey, soy sauce, garlic, and red pepper flakes. Simmer 1 min until glossy and slightly thickened.
- Return chicken to skillet, coating in glaze. Let sit 2 mins to reabsorb sauce.
- Toss broccoli and carrots with 1 tsp oil, salt, and roast at 425F for 15–18 mins (or sauté in skillet after chicken removal).
- Serve chicken over veggie medley. Garnish with sesame seeds and parsley.
Notes
- For extra-crispy skin, chill unseasoned chicken uncovered in fridge 30 mins before seasoning and cooking.
- Double the glaze for extra saucy results—add 1 tbsp chicken broth if too thick.
- Substitute chicken breasts (pounded thin) if preferred, but reduce cook time to 4–5 mins per side.
- Prep Time: 10 minutes
- Cook Time: 20 minutes
- Method: Pan-fry and glaze
- Cuisine: American-inspired Asian fusion
- Diet: High protein
Nutrition
- Serving Size: 1 chicken thigh + 1 cup veggies
- Calories: 420 Kcal
- Sugar: 14g
- Sodium: 680mg
- Fat: 22g
- Saturated Fat: 8g
- Unsaturated Fat: 12g
- Trans Fat: 0g
- Carbohydrates: 34g
- Fiber: 4g
- Protein: 36g
- Cholesterol: 115mg