© Original Recipe By The Daily Garnish ©
🌞🧀 Easy Summer Kid-Friendly Cheese Board: The Ultimate Summer Cheese Platter for Families
1. Introduction
Summer is the perfect time to gather with family and friends, and what better way to do so than with a vibrant, summer cheese board? This kid-friendly cheese platter is not only colorful and appealing but also packed with flavors that children love. Whether you’re hosting a backyard picnic or a casual afternoon snack, this easy snack board turns into an inviting centerpiece that keeps everyone satisfied and entertained.
2. Why You’ll Love This Recipe
- Quick and simple: Ready in under 15 minutes, perfect for busy summer days.
- Kid-friendly: Includes mild cheeses and fun accompaniments that appeal to little palates.
- Versatile: Can be customized to include your child’s favorite snacks and flavors.
- Impressive presentation: Looks beautiful on any table, making snack time special.
3. Ingredient Notes
When creating your summer cheese board, selecting high-quality ingredients elevates the experience. Opt for creamy, mild cheeses like soft cheeses such as mozzarella or mild cheddar, which are easier for children to chew and digest. Incorporate fresh fruit like grapes, berries, and sliced apples for natural sweetness and vibrant color.
Adding crunchy nuts or crispy crackers creates pleasing textures. For a little indulgence, include small dollops of honey or fruit preserves. Don’t forget to choose colorful, kid-friendly dips like hummus or yogurt-based sauces for extra flavor.
4. Kitchen Tools You Need
To assemble your perfect summer cheese board effortlessly, investing in the right tools is worthwhile. Check out these compact 6-in-1 digital air fryer for quick snacks or the T-fal 14-Piece Hard Anodized Nonstick Cookware Set for preparing accompaniments. A stylish KitchenAid Artisan Stand Mixer makes slicing and preparing cheeses a breeze, ensuring your snack platter looks professionally assembled.
5. How to Make an Easy Summer Kid-Friendly Cheese Board
Preparation and Assembly
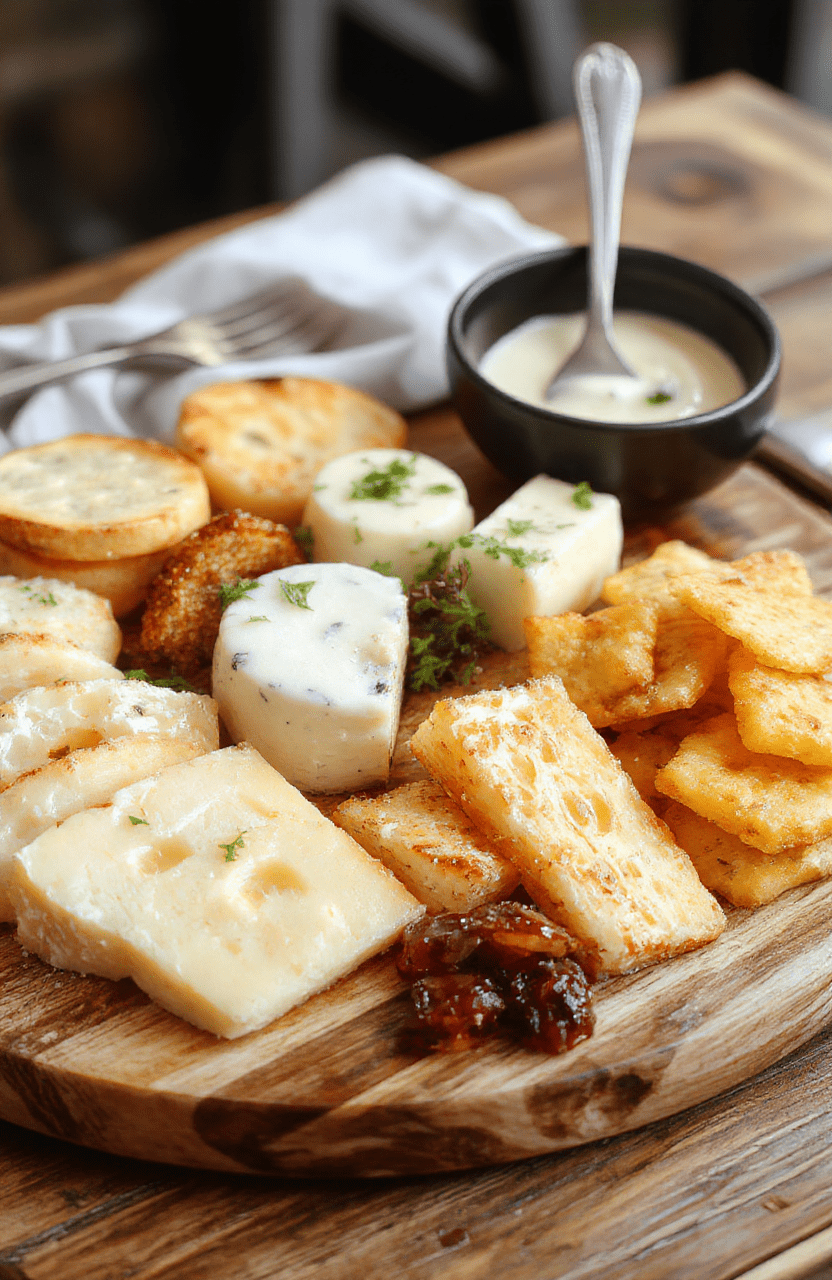
Begin by choosing a large, flat platter or wooden board. Start with the cheeses, slicing or cubing them into bite-sized pieces. Arrange the cheeses in distinct sections to keep flavors separate and visually appealing.
Next, add clusters of fresh grapes and colorful berries around the cheeses, creating a lively, inviting look. Slice apples thinly, and sprinkle a tiny bit of lemon juice on the slices to prevent browning. Fill in gaps with crunchy crackers, nuts, and kid-friendly dips in small bowls. Consider adding fun shapes or themed toothpicks for extra playfulness.
The aroma of fresh fruit and melting cheese will fill your space, inviting excited kids and relaxed adults alike.
Presentation Tips
Use the Ninja Foodi Smart XL Indoor Grill & Air Fryer to prepare hot snacks or crispy treats to accompany your board. Place colorful napkins nearby, and add small signs or labels for each item, especially if you include unique ingredients. The visual appeal makes the cheese platter not just a snack but part of the event’s decor.
6. Expert Tips for Success
- Choose a variety of textures and flavors: Mix soft, semi-hard, and hard cheeses to keep the platter interesting.
- Arrange for visual appeal: Use height and symmetry when placing items to create an eye-catching display.
- Prep ahead: Slice cheeses and wash fruits before the event to save time.
- Color-coordination: Incorporate fruits and snacks with bright colors for attractiveness.
7. Variations & Substitutions
If your children prefer dairy-free options, substitute cheese with plant-based cheese alternatives available in most stores. For gluten sensitivities, use gluten-free crackers or veggie sticks instead of traditional crackers. Switch out fresh fruit for dried versions or include veggie slices like carrots and cucumber for additional crunch.
8. Storage & Reheating
Any leftovers of your summer cheese board can be stored in airtight containers in the refrigerator for up to 24 hours. Refresh the platter by rearranging items, and serve with fresh fruit or snacks if needed. Since most components are cold or room temperature, reheating isn’t necessary.
9. FAQ
How do I keep the cheese fresh for longer?
Wrap the cheese tightly in parchment paper or cheese paper and store in an airtight container. Keep it in the coldest part of your fridge to maintain freshness.
What are some fun presentation ideas for kids?
Use colorful toothpicks, themed napkins, or silicone mold cups filled with dips to make the cheese board more engaging for children.
Can I prepare this cheese platter ahead of time?
Yes! Prepare and assemble your summer cheese board a few hours in advance, storing it covered in the fridge. Add fresh fruits before serving to keep everything looking vibrant.
10. Conclusion
Creating a summer cheese board that is both kid-friendly and visually appealing is easier than ever. With colorful ingredients, simple assembly, and a touch of creativity, this easy snack board will be the highlight of your warm-weather gatherings. Enjoy the fresh flavors, happy kids, and relaxed moments around your delicious, handcrafted summer cheese platter.
Print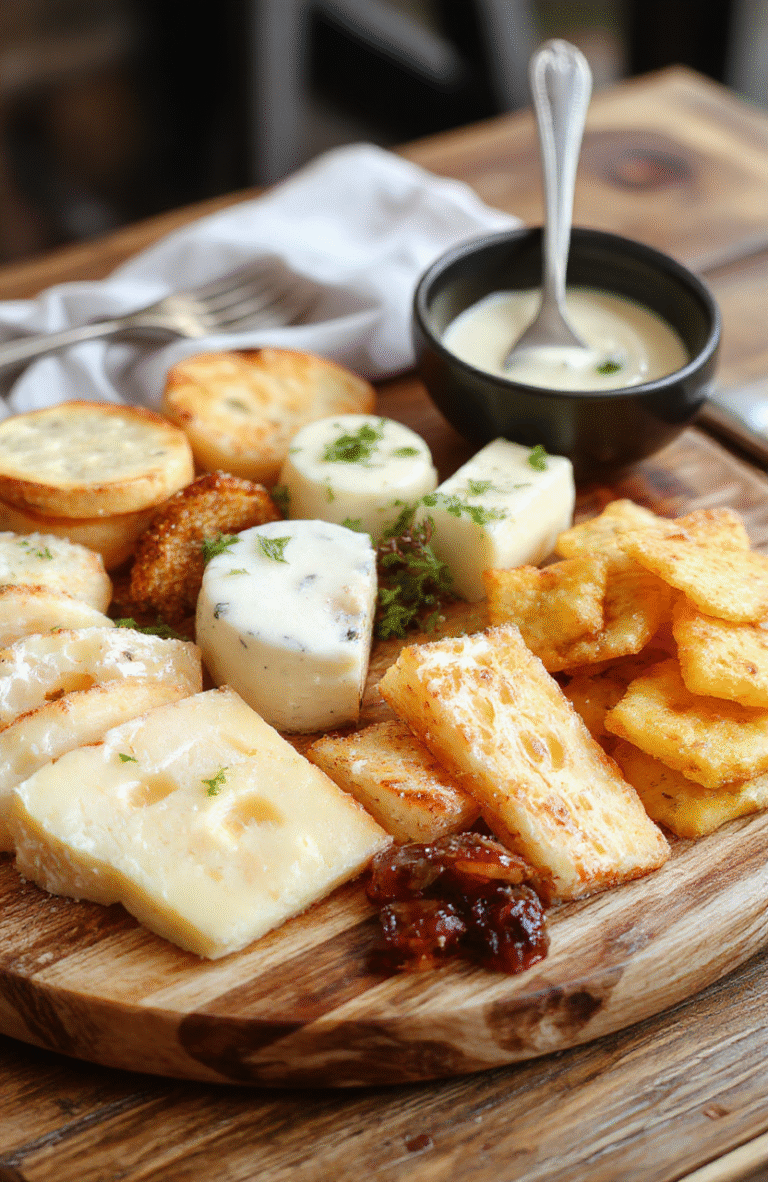
Easy Summer Kid-Friendly Cheese Board
A simple, kid-friendly cheese board with fresh fruits, cheese varieties, crunchy crackers, and colorful veggies, perfect for summer snacking.
- Total Time: 10 minutes
- Yield: 8-10 servings
Ingredients
- Assorted cheeses (cheddar, mozzarella, Swiss)
- Grapes and sliced strawberries
- Crackers and breadsticks
- Baby carrots and cherry tomatoes
- Fresh sliced cucumbers and apple slices <li,Honey or jam (optional)
Instructions
- Arrange the cheeses on a large platter or cutting board.
- Fill in around with grapes, strawberries, and sliced fruits.
- Add crackers, breadsticks, and colorful veggies for variety.
- Optional: serve with honey or jam for added flavor.
Notes
- Use a variety of cheese textures and flavors for appeal.
- Pre-slice fruits and cheese for easy serving.
- Arrange visually for a colorful, inviting display.
- Prep Time: 10 minutes
- Cook Time: 0 minutes
- Method: Assembly
- Cuisine: American
- Diet: Kid-Friendly, Vegetarian
Nutrition
- Serving Size: 1/8 of platter
- Calories: 150 Kcal
- Sugar: 10g
- Sodium: 200mg
- Fat: 9g
- Saturated Fat: 4g
- Unsaturated Fat: 5g
- Trans Fat: 0g
- Carbohydrates: 13g
- Fiber: 2g
- Protein: 6g
- Cholesterol: 20mg