🍗]]>!
1. Introduction
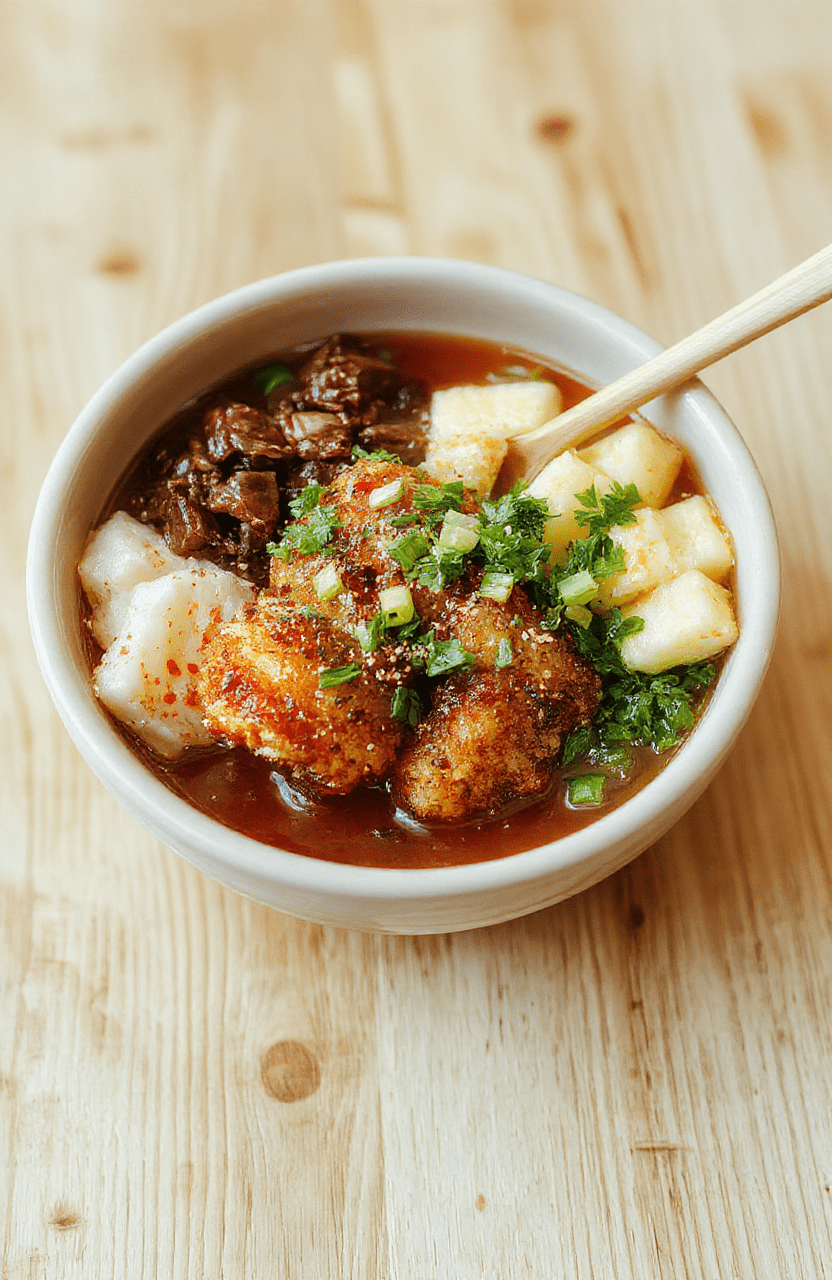
Craving something indulgent yet impressively quick? These crispy Japanese katsu bowls deliver exactly that: golden, panko-crusted chicken cutlets resting on fluffy jasmine rice, nestled beside vibrant pickled vegetables, steamed greens, and a rich, savory tonkatsu sauceDrizzle it all over and dig in—you’ll swear it took hours, not 25 minutes to make.
This weeknight-friendly twist on classic katsu skips the deep fryer (hello, air fryer!) for a healthier crunch without sacrificing texture. And thanks to smart prep and smart appliances, dinner is faster than takeout—without the guilt or sodium overload. If you love bold flavors and hands-off cooking, this dish fits your kitchen rhythm like a glove.
2. Why You’ll Love This Recipe
- Ready in under 30 minutes—perfect for busy weeknights when dinner needs to happen *now*
- One-pan chicken katsu + instant rice + quick-pickle veggies = minimal cleanup
- Meal-prep friendly—components stay fresh for 3–4 days
- Kid-approved & grown-up tasty—sweet, tangy, savory, and crunchy in every bite
- Versatile—swap chicken for pork, beef, or tofu without missing a beat
- Gluten-free adaptable (just use GF panko or almond-crumb crust)
3. Ingredient Notes
The magic in a great katsu bowl lies in the details. Here’s how to elevate each component:
Chicken: Use boneless, skinless thighs—not breasts—for maximum juiciness and flavor. Thighs are more forgiving if you over-cook by a minute. Look for organic or free-range for deeper taste.
Panko breadcrumbs: Japanese-style shibarihoshi panko is coarse, flaky, and fries up extra crispy (even in the air fryer). Avoid traditional fine breadcrumbs—they’ll turn gummy.
Flour & egg wash: Use cold eggs and all-purpose flour. Chill the breaded cutlets for 10 minutes before cooking to help the crust adhere better and reduce flaking.
High-heat oil: For searing the cutlets before air frying, I recommend rice bran oil (neutral flavor, high smoke point). If you don’t have one on hand, avocado or grapeseed oil works too.
Tonkatsu sauce: You *can* buy it—but homemade is brighter and less sweet. I mix Kewpie mayonnaise, Worcestershire, soy sauce, mirin, garlic, and ginger. But if you’re short on time, Kikkoman’s version is solid.
Acid pairings: Quick-pickled red onions or daikon radish cut the richness beautifully. Don’t skip them—the sharp tang cuts through the fat and balances the bowl.
4. Kitchen Tools You Need
While this recipe shines with minimal gear, a few tools make all the difference in achieving perfect katsu every time:
The Ninja Air Fryer Pro Crisp & Roast 4-in-1 delivers restaurant-level crispiness without the oil. Its even heat circulation ensures your katsu browns uniformly—no more pale, soggy undersides.
For meal-prepping multiple bowls throughout the week, the JoyJolt Airtight Glass Food Storage Set keeps components fresh, odor-free, and organized. The lid seal is indestructible, and the stackable design saves fridge space.
Stir-frying veggies? A good nonstick skillet makes cleanup instant. The CAROTE Premium 16pc Nonstick Cookware Set features warped-rim convenience and durable ceramic coating that won’t scratch—even with metal utensils.
Need a boost for future crowd-pleasers? The Compact 6-in-1 Digital Air Fryer by Amazon Basics is ideal for singles or small households. At under 4 pounds, it tucks neatly into cabinets when not in use—and preheats in 90 seconds.
5. How to Make Crispy Japanese Katsu Bowls
Phase 1: Prep the Cutlets (15 minutes)
Step 1: Pound chicken thighs to ½-inch thickness between plastic wrap using a heavy pan or meat mallet. This ensures even cooking and tender texture.
Step 2: Season both sides with salt and black pepper. Set up a breading station: flour in one bowl, beaten eggs in another, panko in a third.
Step 3: Dredge each cutlet in flour (shake off excess), dip in egg (let excess drip), then coat evenly in panko—press gently to adhere. Chill for 10 minutes to set the crust.
Phase 2: Air Fry or Pan-Sear (10 minutes)
Option A (Air Fryer – Recommended): Preheat to 400°F (200°C). Lightly spray basket with oil. Place cutlets in a single layer (don’t crowd), spray tops with oil, and air fry for 8 minutes. Flip, spray again, and cook 5–6 more minutes until internal temp hits 165°F and crust is golden-brown.
Option B (Pan-Sear + Finish): Heat 1 tbsp oil in a skillet over medium-high. Sear katsu 3–4 minutes per side until golden. Transfer to a baking sheet and bake at 375°F (190°C) for 5 minutes to ensure doneness while keeping crust intact.
Phase 3: Build the Bowls (5 minutes)
While katsu rests, whisk your tonkatsu sauce: 2 tbsp Kewpie mayo, 1 tbsp soy sauce, 1 tbsp Worcestershire, 1 tsp mirin, ½ tsp grated ginger, 1 small garlic clove (minced). Adjust sweetness with honey if desired.
Fill bowls with warm jasmine rice, top with sliced katsu, steamed bok choy, sliced avocado, and quick-pickled onions (thinly slice ¼ red onion, soak in ½ cup rice vinegar + 1 tsp sugar for 10 minutes).
Drizzle sauce over the top, sprinkle with beni shoga (red ginger), sesame seeds, and scallions. Dig in while hot!
6. Expert Tips for Success
1. Keep the panko dry. Moisture is the enemy of crispiness. Ensure chicken is dry before dredging, and don’t rush the chill time.
2. Let the cutlets rest. Slice too soon? Juices pool on the plate. Rest them for 5 minutes covered loosely with foil—this locks in moisture and preserves texture.
3. Don’t flip too early. In the air fryer, wait until the crust naturally releases (usually after 7 minutes) before flipping. Premature flipping causes panko to peel off.
4. Use room-temperature ingredients. Cold egg wash leads to uneven coating. Let eggs sit 10 minutes out before breading.
5. Double-panko trick for extra crunch. For theatrical levels of crisp, dip in egg → panko → egg again → final panko coat. Works beautifully for pork or tofu katsu too.
7. Variations & Substitutions
Pork Katsu: Use ¾-inch thick pork shoulder or tenderloin. Add 2 minutes to cooking time. Classic Japanese-style and pairs well with curry.
Veggie Katsu: Try breaded eggplant slices or portobello caps. Press moisture out first (salt slices, wait 10 minutes, rinse and pat dry), then proceed.
Gluten-Free: Swap panko for crushed gluten-free corn flakes or rice flour + almond flour combo. Breading will be denser, but still delicious.
Dairy-Free: Use vegan mayo in the sauce (e.g., Just Mayo or Sir Sauv).
Low-Carb: Serve over cauliflower rice and use tahini + lime instead of tonkatsu sauce for a lighter finish.
8. Storage & Reheating
Refrigerator: Store components separately in airtight containers for up to 4 days. Katsu loses crispness over time—reheat in an air fryer (350°F for 3–4 minutes) to revive crunch.
Freezer: Freeze unsauced katsu on a tray first (until solid), then transfer to a freezer bag. Lasts 3 months. Thaw overnight in fridge before reheating.
Reheating rice: Wet a paper towel, wrap the container loosely, and microwave 60–90 seconds on high. This prevents dryness and reheats evenly.
assemble bowls fresh. Even with reheated components, assemble just before eating to preserve texture—especially the crisp katsu and fresh veggies.
9. FAQ
Q: Can I use chicken breast instead of thighs?
A: Yes—but be extra careful not to overcook. Breasts dry out faster. Use a thermometer and pull at 160°F; residual heat will carry it to 165°F. Brining the chicken first (10 minutes in salted water + 1 tsp baking soda) helps too.
Q: Why is my katsu breading falling off?
A: Most often due to one of three things: not chilling the breaded cutlets, excess moisture on the chicken, or oil that’s too hot/cold. Maintain 400°F in the air fryer and resist opening the basket during cooking.
Q: Can I make this ahead for meal prep?
A: Absolutely! Cook and chill the katsu and rice in bulk. Store veggies and sauces separately. Assemble bowls in 5 minutes by reheating katsu and rice, then topping with fresh garnish.
Q: What if I don’t have an air fryer?
A> No problem—pan-sear in a skillett with just 1 tablespoon of oil over medium heat. Press gently with a spatula while cooking to ensure even browning on both sides.
10. Conclusion
These crispy Japanese katsu bowls aren’t just dinner—they’re proof that fast doesn’t have to mean plain or lackluster. With a golden crust, rich sauce, and balanced sides, they transform basic pantry staples into something celebratory. Plus, the leftovers taste even better the next day (if there are any!).
Pair this with a cold sake or jasmine tea, and you’ve got a Japanese izakaya night in minutes. If you try it, I’d love to hear how it turns out—leave a comment below or tag me on Instagram.
For more weeknight-winning meals that bring joy back to the kitchen, explore our other hits: the Slow Cooker Garlic Butter Beef & Potatoes, the Sticky Honey Garlic Crockpot Chicken Thighs, and the Chicken & Avocado Wrap in 10 Minutes.
Happy cooking—and let’s make dinner time the highlight of your day 🍚✨
Print
Crispy Japanese Katsu Bowls Quick Dinner
Crispy panko-crusted chicken katsu served over fluffy rice with shredded cabbage and a glossy tonkatsu sauce.
- Total Time: 30 mins
- Yield: 4 servings
Ingredients
- 1 lb boneless chicken cutlets, pounded to 1/2 inch
- 1 cup all-purpose flour
- 2 large eggs, beaten
- 1 1/2 cups panko breadcrumbs
- 1 tsp garlic powder
- 1/2 tsp paprika
- Salt and pepper
- Oil for frying
- 2 cups cooked rice (white or brown)
- 3 cups shredded cabbage or slaw
- For the sauce: 1/4 cup soy sauce, 2 Tbsp mirin, 2 Tbsp honey, 1 Tbsp rice vinegar, 1 Tbsp ketchup
- Sesame seeds and sliced scallions, for garnish
Instructions
- Prepare rice and cabbage; set aside.
- Set up breading station with flour, eggs, and panko seasoned with garlic powder, paprika, salt, pepper.
- Dredge chicken in flour, dip in eggs, coat with panko.
- Fry in 350F oil until golden and internal 165F; drain.
- Combine sauce ingredients in a small pan, simmer 2-3 minutes.
- Assemble bowls: rice, cabbage, sliced chicken, drizzle sauce, garnish with sesame and scallions.
Notes
- Tip: For baked version, bake at 425F for 12-15 minutes per side until golden.
- To make gluten-free, use gluten-free flour and breadcrumbs.
- Leftover sauce keeps 4 days in the fridge.
- Prep Time: 15 mins
- Cook Time: 15 mins
- Method: Pan-fry, Simmer
- Cuisine: Japanese
- Diet: Non-Vegetarian
Nutrition
- Serving Size: 1 bowl
- Calories: 520 Kcal
- Sugar: 6 g
- Sodium: 750 mg
- Fat: 22 g
- Saturated Fat: 5 g
- Unsaturated Fat: 14 g
- Trans Fat: 0 g
- Carbohydrates: 58 g
- Fiber: 4 g
- Protein: 28 g
- Cholesterol: 140 mg